
How to hide the Cookie bar on specific URLs?
In case you want to hide the Cookie bar on a specific page/URL of your store, for example, a landing, newsletter or advertisement page to which the visitor is redirected from Facebook or other social media, you can do this by following the guidelines below.
Note: Before you proceed, it is always best to discuss this with a local law advisor or GDPR specialist and if it’s OK not to have the Cookie bar on particular pages of your store.
In order for the Cookie bar to be blocked only on the specific URLs of your store, you need to apply a script that should be added to your theme.liquid file. You can do this by following the steps below:
First, you will need to download the script provided below:
Download Script for Hiding the Cookie Bar on specific URLs
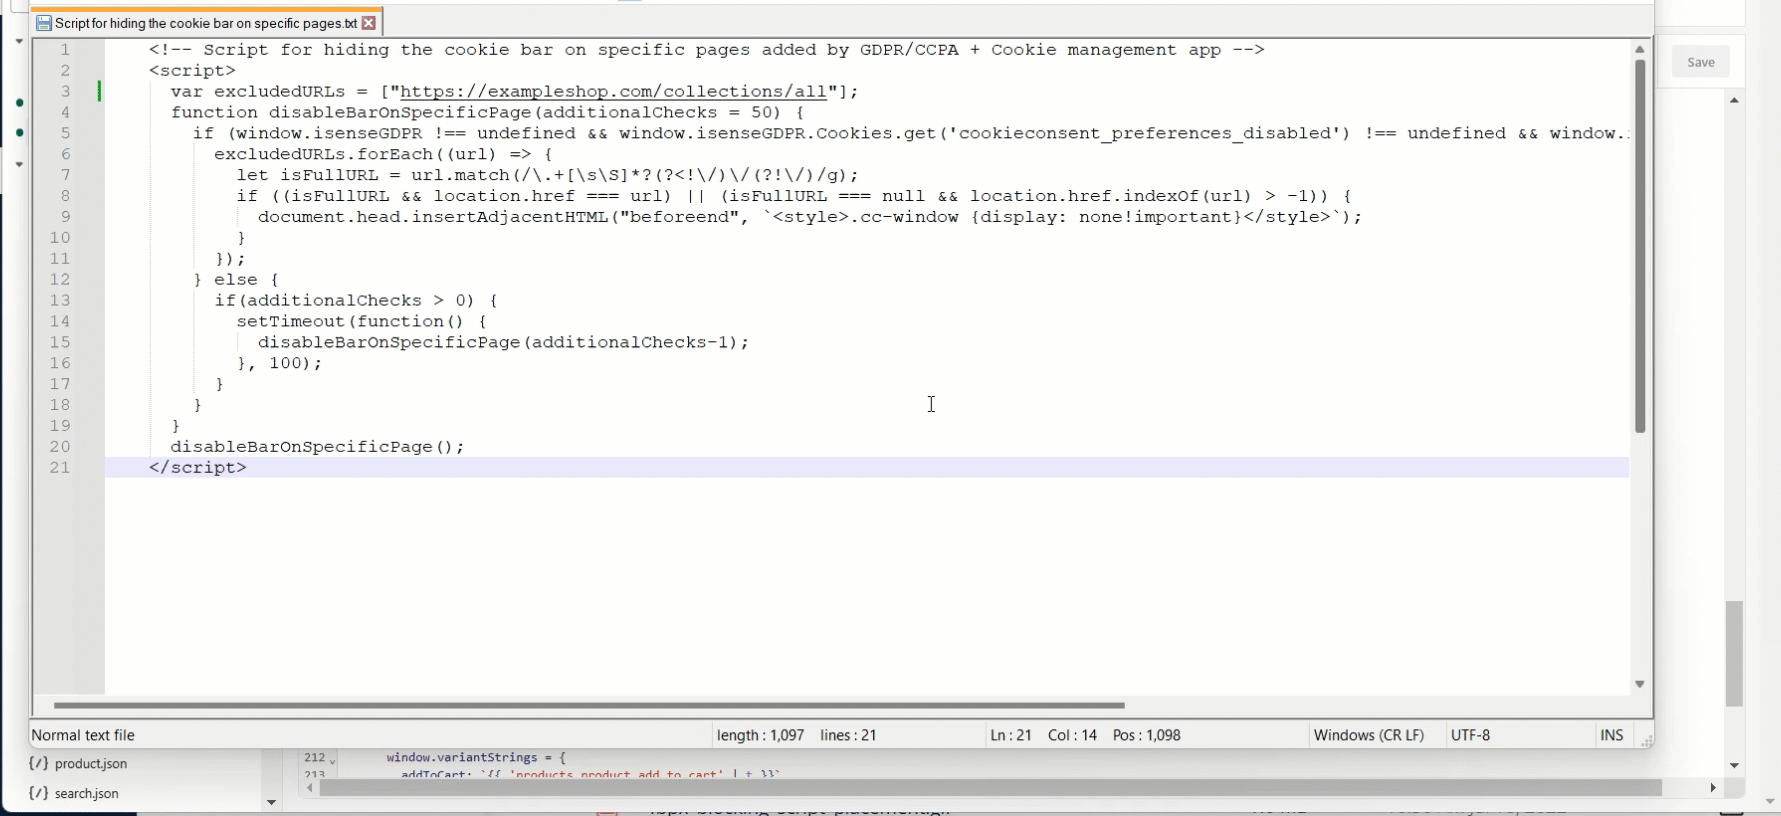
You should Edit the script according to the following examples below:
Note: You should copy the URL from the address bar of your browser. For example, if your store URL is: https://exampleshop.com/ and you put the one with the “myshopify” part > https://exampleshop.myshopify.com, it will not be detected and applied correctly.
Please refer to the examples below:
• https://exampleshop.com/ - Will block the Cookie bar only on the Home page.
• https://exampleshop.com/account/login - Will block the Cookie bar only on the login page.
• https://exampleshop.com/collections/all - Will block the Cookie bar only on the category page.
You can refer to the image on how it should look below:

In case you want to block the Cookie bar on a group of pages, only a specific word from the URL should be used, as shown in the examples below:
• /products - Will block the cookie bar on all URLs that contain /products. Since all products in your store have the path - /products, it will block the cookie bar on all product pages, as you can see in the image below:

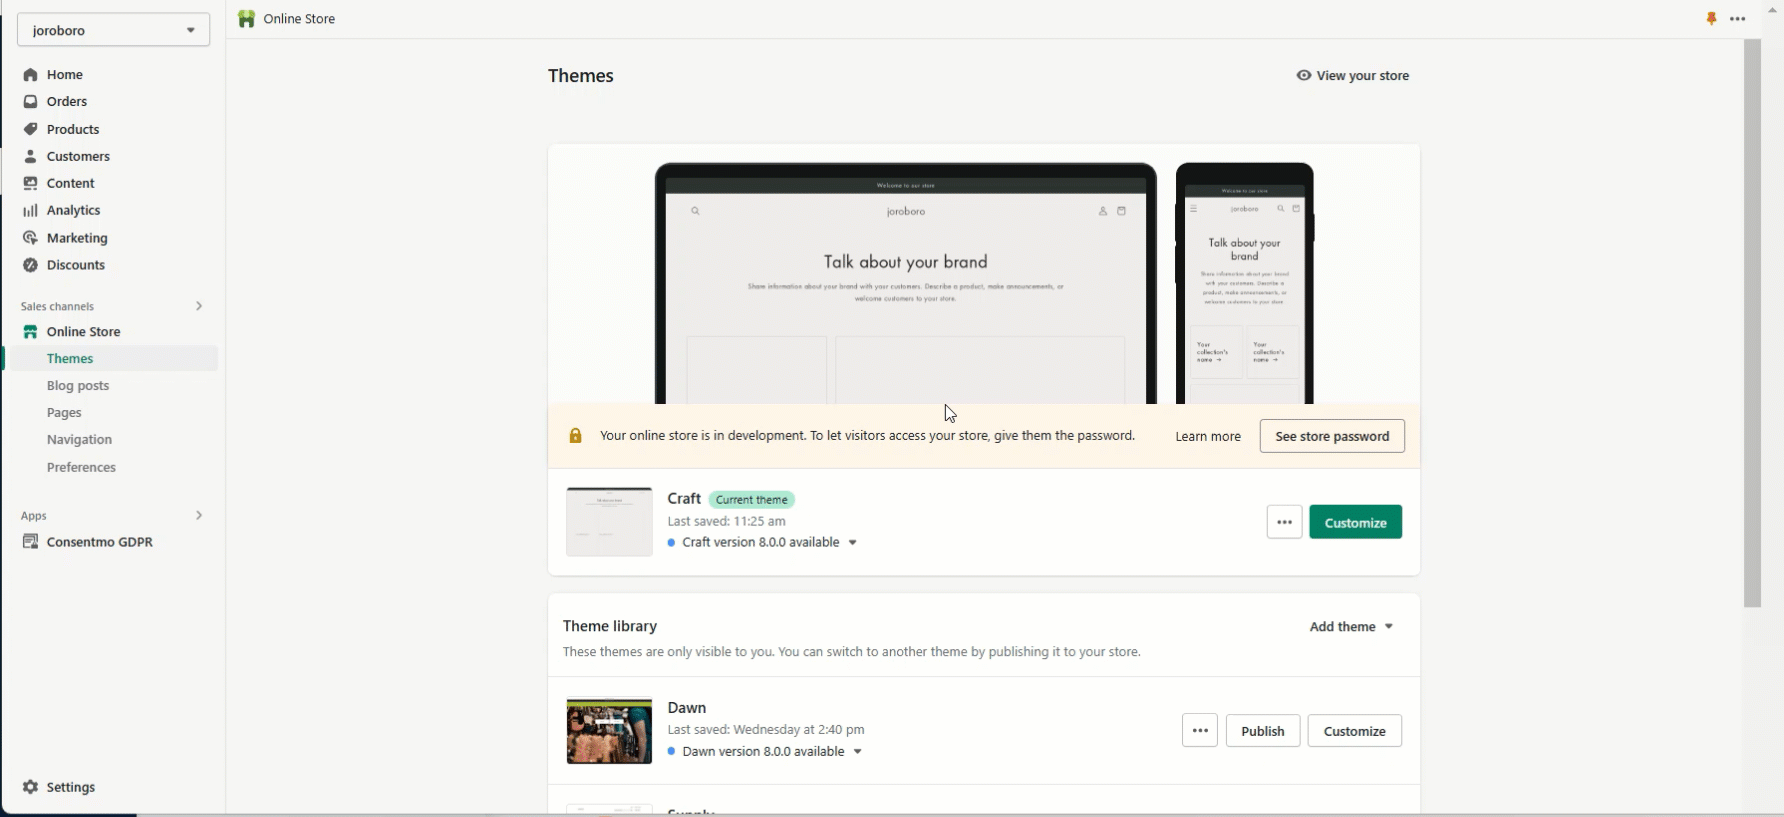
Once you’re done editing the script. You can now navigate to Online Store > Themes > Actions > Edit Code > theme.liquid, as shown in the image below:
There, you need to locate the closing </head> tag, as you can see in the image below:

Paste the script above the </head> tag of your theme.liquid file.
Save your settings.
You can also check how the exact process works below:
NOTE: Make sure to remove the added code before deleting the app. This way, no snippets of code will be left in your theme. For more information on what you should be aware of when deleting our app check this article of our FAQ page.
If you need help with the process, don’t hesitate to contact our support team at: support@consentmo.com
Note: Before you proceed, it is always best to discuss this with a local law advisor or GDPR specialist and if it’s OK not to have the Cookie bar on particular pages of your store.
In order for the Cookie bar to be blocked only on the specific URLs of your store, you need to apply a script that should be added to your theme.liquid file. You can do this by following the steps below:
First, you will need to download the script provided below:
Download Script for Hiding the Cookie Bar on specific URLs
You should Edit the script according to the following examples below:
Note: You should copy the URL from the address bar of your browser. For example, if your store URL is: https://exampleshop.com/ and you put the one with the “myshopify” part > https://exampleshop.myshopify.com, it will not be detected and applied correctly.
Please refer to the examples below:
• https://exampleshop.com/ - Will block the Cookie bar only on the Home page.
• https://exampleshop.com/account/login - Will block the Cookie bar only on the login page.
• https://exampleshop.com/collections/all - Will block the Cookie bar only on the category page.
You can refer to the image on how it should look below:
In case you want to block the Cookie bar on a group of pages, only a specific word from the URL should be used, as shown in the examples below:
• /products - Will block the cookie bar on all URLs that contain /products. Since all products in your store have the path - /products, it will block the cookie bar on all product pages, as you can see in the image below:
Once you’re done editing the script. You can now navigate to Online Store > Themes > Actions > Edit Code > theme.liquid, as shown in the image below:
There, you need to locate the closing </head> tag, as you can see in the image below:
Paste the script above the </head> tag of your theme.liquid file.
Save your settings.
You can also check how the exact process works below:
NOTE: Make sure to remove the added code before deleting the app. This way, no snippets of code will be left in your theme. For more information on what you should be aware of when deleting our app check this article of our FAQ page.
If you need help with the process, don’t hesitate to contact our support team at: support@consentmo.com
Updated on: 27/08/2024
Thank you!